

A status light is useful until two people disagree about what it means. A bright LED alone won't settle the argument. Give operators a state table, a repeatable setup and a matched pack.
Branda HR36C MCU is presented as an MCU-controlled cradle charger. The supplied view shows a black housing, ventilation ribs, a multi-contact battery seat, a front status position and a regional input lead. The photo tells us where the user looks. The product file has to explain what the user sees.
A light is not a test report
Operators need a quick answer. Is the pack charging? Is the process finished? Should the pack leave normal service? One lamp cannot answer every question by itself. The manual must connect each visible state with a next action.
Test the behaviour before printing a simple red-green label. Start with the intended pack. Watch the first indication. Remove it safely. Try a full pack next. Tick each step against the table.
| User question | Evidence I want | Weak answer |
|---|---|---|
| Has the pack been detected?. | A startup state and a documented change after seating. | The same lamp for every condition. |
| Is charging active?. | A clear state in the instruction sheet. | A light colour with no written meaning. |
| Has the routine completed?. | A finished state and a removal step. | A guess based on elapsed time. |
| Is there a fault?. | A defined response and quarantine action. | No written action exists. |
The card belongs at the bench. Read it once. Then run the sample without looking at the sheet. Any pause is a clue. Rewrite the wording or lamp sequence.
Try a fresh pack and a used pack. Their starting states may differ in a way the manual should explain. Record both results. A useful charger guide covers the ordinary day, not only a perfect first cycle.
Collect the battery file before setting up the charger
The useful question is not whether Branda HR36C MCU has an MCU. It is whether the control path suits one battery platform. Get the pack drawing, voltage window, current limit, BMS notes, temperature input and contact layout. Then compare the charger specification.
Specification: 20.8-21.2 V, 1.8-2.2 A and 36 W. Input: 90-264 Vac. The sheet names EN60335 and UL1310. Startup and fault behaviour need their own record.
| Pack record | Why engineering needs it | Keep as |
|---|---|---|
| Tool platform and pack revision. | Identifies the battery family and changes. | Controlled drawing. |
| Voltage window and current limit. | Sets the electrical review range. | Signed specification. |
| BMS signals and limits. | Shows how the pack expects to be managed. | Interface note. |
| Contact drawing. | Captures polarity, spacing and keying. | Dimensional file. |
| Status requirements. | Defines what the operator must see. | State table. |
| Destination market. | Aligns input, plug and documentation. | RFQ brief. |
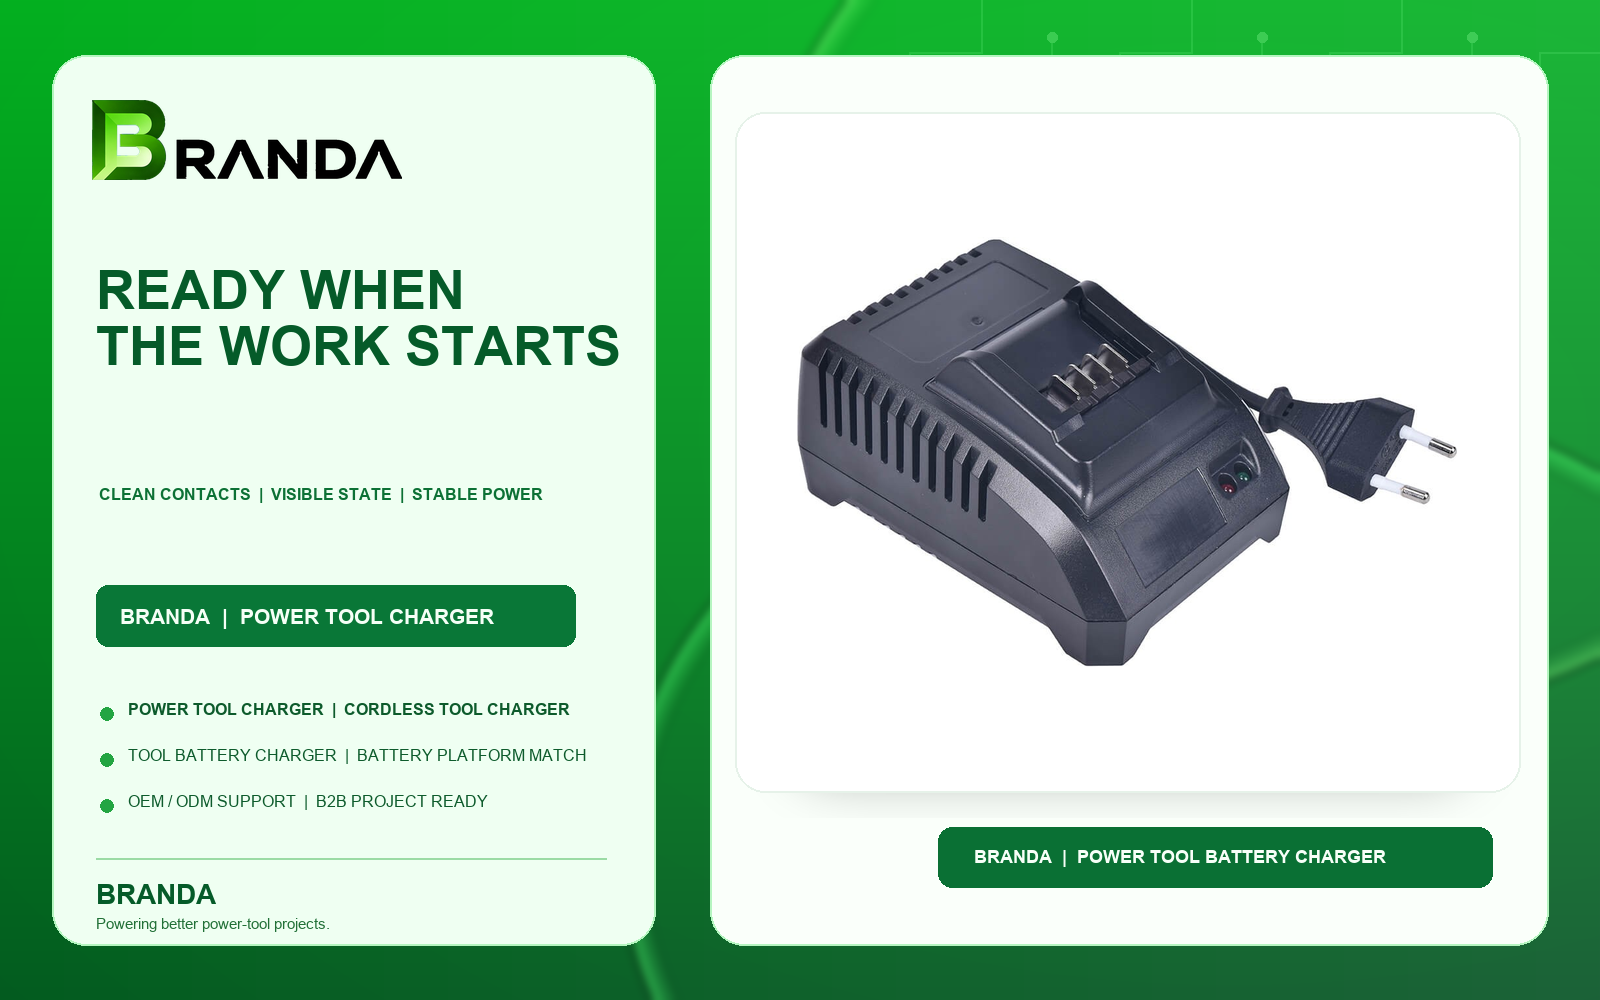
Watch the first sequence, not just the final voltage
Set the sample on a stable surface. Connect the intended input plug. Place the intended pack. Write down state one and its timing. Release the pack normally. Then hand the job to someone else.
Try a half-seated pack. Try a completed pack. Try an unexpected state. Write the next action for each. These usability checks belong beside the electrical tests.
| Step | Record | Stop approval if |
|---|---|---|
| Power up with no pack. | The displayed or unlit state. | The manual has no matching description. |
| Seat the intended pack. | The first change and its timing. | The state conflicts with the instruction sheet. |
| Complete a normal cycle. | The finished indication. | No clear removal step exists. |
| Repeat with a full pack. | The expected starting state. | The unit behaves like an empty pack without explanation. |
| Use a second operator. | Their interpretation of each light. | Two users read the same state differently. |
The battery seat is part of the control experience
A correct electrical signal is useless if the pack only reaches it after a wiggle. Inspect the seat with the production-intent battery. Gloves change the feel. Dust changes it too. Cleaning access belongs in the review.
Check contact spacing and spring pressure. Look around the lamp. Can chips gather there? A brush should reach the area safely.
| Area | What to do | Failure clue |
|---|---|---|
| Contact alignment. | Seat and remove the pack ten times. | Bright scraping marks in one corner. |
| Retention. | Lift the pack by its body. | The cradle lets it rise or twist. |
| Status visibility. | View the unit from the operator position. | The indicator disappears behind the pack. |
| Debris path. | Inspect after a normal workshop day. | Dust gathers around the contact block. |
| Cleaning access. | Clean it the approved way. | Drain or opening blocked. |
Give the crew one state, one action
Good control logic still depends on people. Hang the table at the charging point. Questionable packs leave the ready shelf. An unclear state gets a second opinion. Nobody invents a reset sequence at the end of a shift.
| Visible state | Operator action | Record |
|---|---|---|
| No pack detected. | Check seating and the instruction sheet. | Pack identity and time. |
| Charging. | Leave the pack and lead alone. | Intake entry. |
| Completed. | Remove by the battery body. | Ready-shelf handover. |
| Unexpected state. | Move the pack to the inspection box. | Lamp state and operator note. |
| Pack damaged. | Remove it from normal charging. | Service route. |
Run a short weekly drill. Pick one pack without warning. Ask the operator to walk through intake, seating, status and handover. Correct the first ambiguous answer you hear. The drill takes minutes. It reveals more than a sign nobody reads.
Keep a blank note card beside the charger. Date it. Write any unexplained light, unusual warmth or difficult insertion on the card. The pattern is much easier to review than a memory from last month.
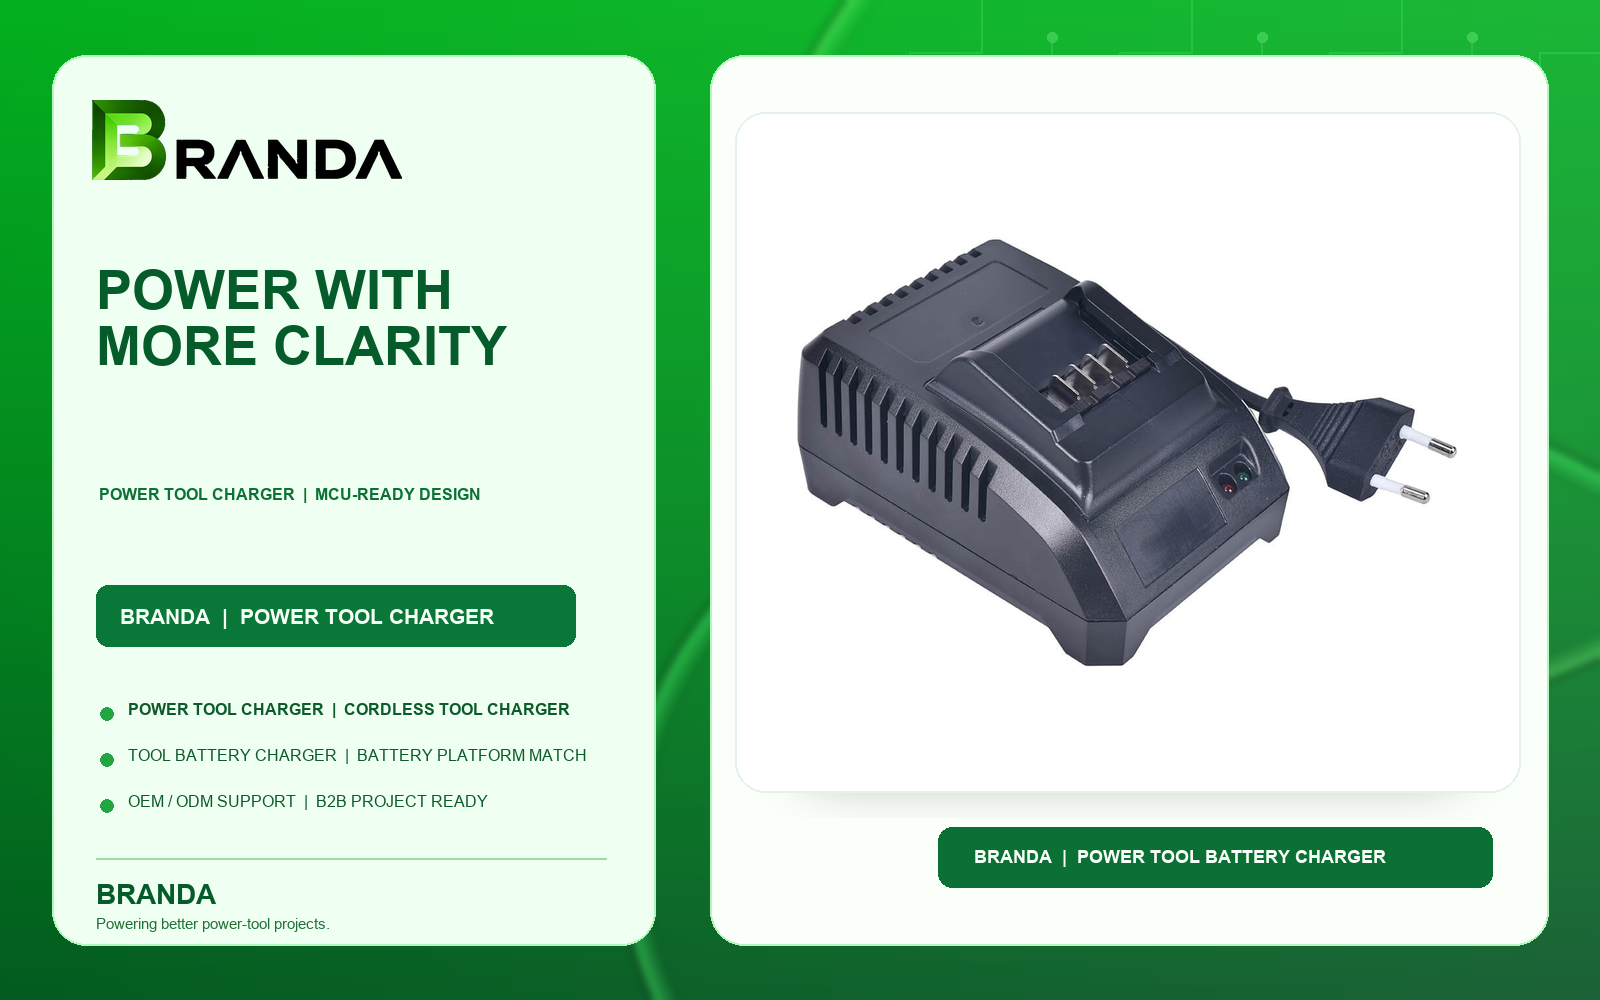
Put the reference values in one controlled table
Use the B2B selection guide to compare these figures with the pack file. Keep the approved combination in the same record as the battery interface.
| Item | Value shown |
|---|---|
| Charging format. | Single-position MCU-controlled tool-battery charger. |
| Rated output power. | 36 W. |
| Output voltage shown. | 20.8-21.2 V. |
| Output current shown. | 1.8-2.2 A. |
| Input range shown. | 90-264 Vac, 47-63 Hz. |
| Protection shown. | Sheet lists output-current and short-circuit protection. |
| Safety references. | EN60335 and UL1310. |
| Branda project reference. | Branda HR36C MCU. |
A dual safety reference does not remove the need for configuration review. Get the document set for the production unit. Check the input plug, label and intended market before approving the order.
Revision control matters more with control electronics
An MCU product can change without a new housing shape. A component, firmware setting or startup rule may move while the outside looks the same. Give each approved build a revision. Link it to the state table and the sample tested by the customer.
The custom charger RFQ worksheet can capture the functional requirements. The sample acceptance plan turns them into release checks.
| Item | Freeze at approval | Check at receiving |
|---|---|---|
| Housing. | Mould and finish standard. | Product family and mark. |
| Control build. | Hardware and firmware reference. | Revision on the package or record. |
| Status table. | Approved lamp states and actions. | Manual matches the sample. |
| Battery interface. | Contact and keying drawing. | Fit with the controlled pack. |
| Input assembly. | Plug and lead for the market. | Pins, rating and label. |
| Carton. | Artwork and included documents. | Language and model identity. |
What I would ask a charger supplier
Ask for the state table first. Then ask which battery and revision were used. Fast answers save time. A change needs its documents and sample retested.
| Question | A useful response |
|---|---|
| What does each state mean?. | A written operator table tied to the sample revision. |
| Which pack was tested?. | Battery drawing and test record for the intended platform. |
| What changes with a firmware update?. | A revision note and retest scope. |
| How is the seat checked?. | A repeatable ten-cycle inspection method. |
| What ships with the unit?. | Manual, label proof and destination-specific documentation. |
Compare the Branda power tool charger range with the rapid charger reference and workshop charger reference. For a private program, review OEM/ODM support and the manufacturer service. The sample acceptance plan keeps the first approval connected to repeat supply.
Make every charger state easy to explain
Send the pack drawing, required status behaviour, destination market and sample quantity. Branda can review the smart charger configuration against the actual tool program.
Send the battery fileSee manufacturing supportA product image is not a compatibility promise. Check the pack, plug, label and market paperwork before ordering. Follow the product instructions after delivery.


